
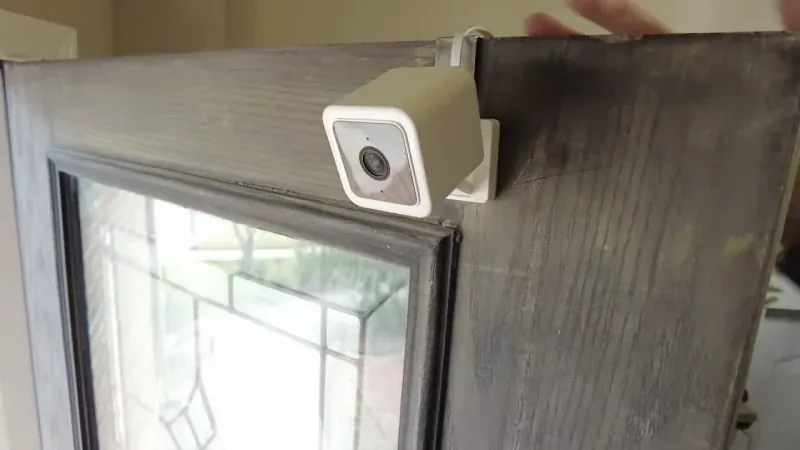
A camera mount without drilling takes about 15–30 minutes and is inexpensive relative to the alternative for most adhesive or clamp kits. The job is easy if the surface is clean, flat, and painted — it needs care on wallpaper, fresh paint, or textured brick. Before you start, you must have one thing: a surface that can hold the weight. Check the mount’s own box for its weight limit.
What you’ll need
| Item | How much | Why it’s needed | A substitute |
|---|---|---|---|
| Adhesive mount or clamp | 1 kit | Holds the camera without holes | None — don’t swap this |
| Rubbing alcohol | 1 bottle, 70% or higher | Removes oil and dust | Dish soap and water |
| Lint-free cloth | 2 pieces | Dries the surface clean | Paper towel (leaves lint) |
| Painter’s tape | 1 roll | Marks position before sticking | Pencil mark on light walls |
| Small level | 1 | Keeps the camera straight | Phone level app |
| Camera and cable | 1 each | The thing being mounted | None — don’t swap this |
| Hairdryer | 1 | Warms adhesive for removal later | Warm room, 20+ minutes |
Read the mount’s own documentation for its weight limit before you buy. A small indoor camera may weigh under 1 lb, but a larger outdoor unit can weigh several pounds. The box or the maker’s official page states the exact limit — check it there.
Before you start
- Switch off the camera and unplug any power or network cable.
- Empty the area below the mount spot — a dropped camera can crack a screen.
- Clean the wall with alcohol and let it dry for 2 minutes.
- Cover the floor with a cloth to catch adhesive strips.
- The step people skip: testing the surface. Press painter’s tape on it for 1 minute. If it lifts paint, stop.
If your wall is lath-and-plaster, brick, or has fresh paint under 30 days old, an adhesive mount may fail. For those surfaces, hire a handyman or ask your landlord about drilling. This is where the DIY job ends.
Step-by-step: mounting your camera
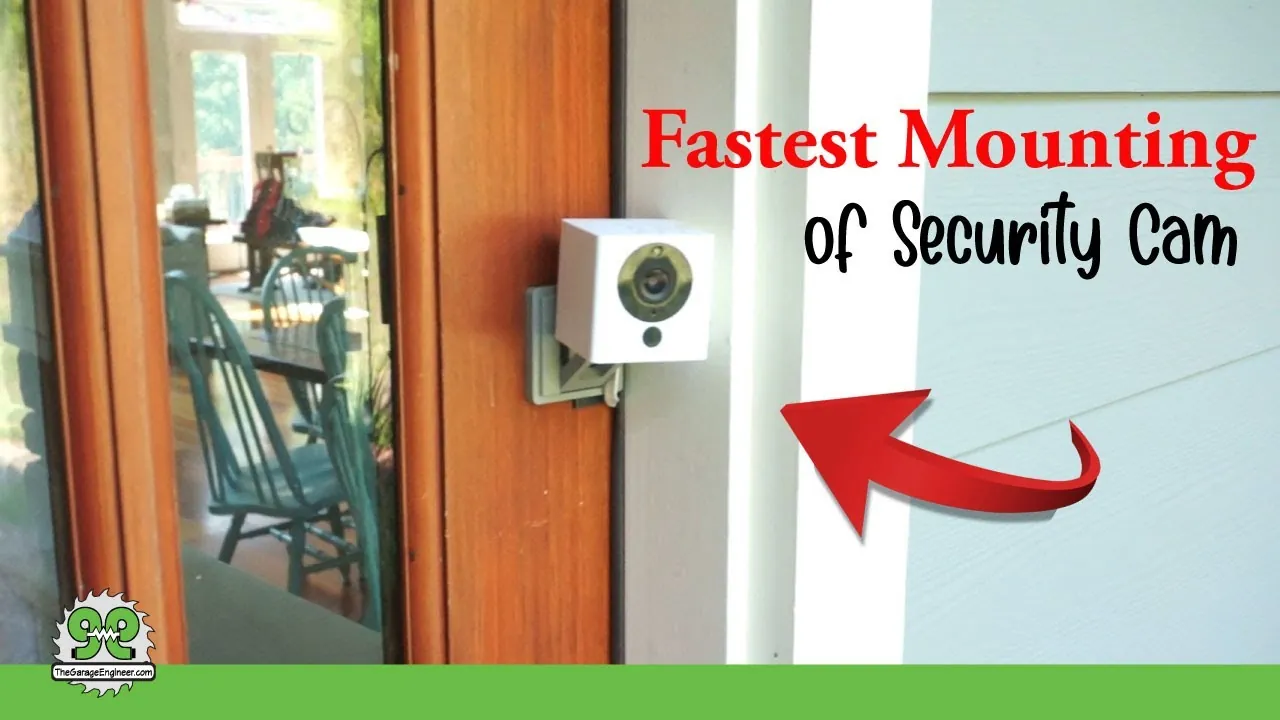
-
Pick the spot. Hold the camera where you want it and check the view on your phone screen. Mark the center with a pencil dot. This takes about 2 minutes. You’ll know it worked when the view covers the full area you need.
-
Clean the surface. Wipe the spot with a lint-free cloth and 70% rubbing alcohol. Let it dry for 2 full minutes. The surface is ready when it feels dry and looks dull, not shiny.
-
Warm the adhesive. If the room is under 50°F, warm the adhesive pad with a hairdryer for 20–30 seconds. Adhesive bonds better when warm. You’ll know it worked when the pad feels soft and slightly tacky.
-
Peel and press. Peel the backing and press the mount onto the spot with steady pressure for 30 full seconds. Don’t wiggle it. You’ll know it worked when the mount sits flat with no lifted edges.
-
Wait before adding weight. Leave the empty mount for 24 hours at room temperature. This is the step most people rush. You’ll know it worked when the pad feels firm and cool.
-
Attach the camera. Clip or screw the camera onto the mount. Hand-tighten only — don’t force it. You’ll know it worked when the camera holds its angle without sagging.
-
Route the cable. Run the power cable along the wall and secure it with cable clips every 12 inches. Leave a small loop near the camera. You’ll know it worked when the cable doesn’t pull on the mount.
-
Test the angle. Turn the camera on and check the live view. Adjust the tilt in small steps. You’ll know it worked when the view matches your plan from step 1.
-
Wait a full day, then check. After 24 hours, press the mount firmly. If it moves, remove it and start again. You’ll know it worked when the mount doesn’t budge.
-
Label the date. Write the mounting date on a small sticker near the mount. This tells you when to check it again. You’ll know it worked when you can read the date at a glance.
How to know it worked
A good mount passes three checks. First, press it firmly with two fingers for 5 seconds — it shouldn’t shift or creak. Second, watch the live view for 10 minutes; the angle shouldn’t drift. Third, check after 24 hours and again after 7 days. If the pad stays firm, it’s holding.
Signs it needs another round: the pad lifts at one edge, the camera sags slowly, or you see a small gap between pad and wall. Remove the mount, clean the spot again, and use a fresh adhesive pad. Don’t reuse a pad that has already been pressed once — it won’t hold.
How long an adhesive mount lasts depends on your wall’s paint type, room humidity, and the camera’s weight. How long it lasts depends on your wall, room humidity, and the camera’s weight — check it every 30 days and replace it when the edges curl.
If something goes wrong
| What happened | Why | What to do |
|---|---|---|
| Mount fell off in 1 day | Surface was dirty or greasy | Clean again, use fresh pad |
| Camera sags slowly | Pad is too weak for weight | Switch to a clamp mount |
| Paint peeled off with pad | Fresh or loose paint | Touch up paint, use a clamp |
| Cable pulls the mount | Cable too tight | Add slack, add more clips |
| Pad won’t stick at all | Room too cold | Warm pad, warm the room |
| Camera view is crooked | Mount not level | Remove, re-level, re-press |
How often to check it
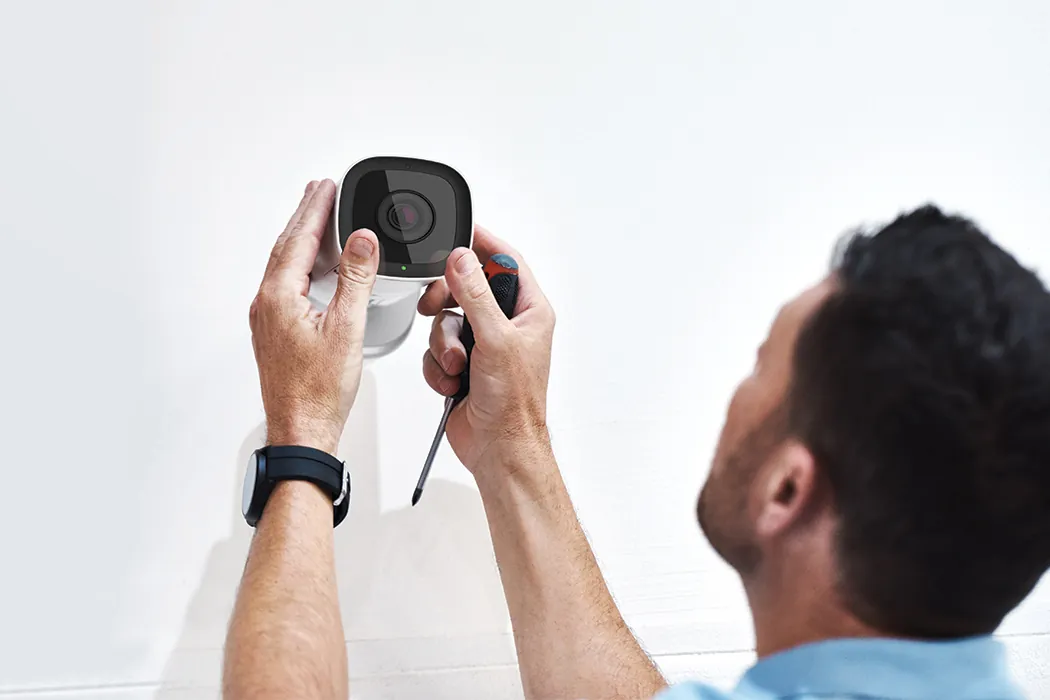
Check the mount every 30 days in normal indoor conditions. Two things change that number most: heat and weight. Hot rooms and heavier cameras can weaken adhesive faster, so check more often. Cold rooms under 50°F can also weaken adhesive, so check more often in winter.
If you live in a humid area or near a kitchen, moisture breaks down adhesive faster — check more often. Write the date on a sticker so you don’t have to remember. The Consumer Product Safety Commission publishes general safety guidance on product recalls, so check there if your mount model is ever recalled.
Related guides
- 10 Best Magnetic Mount Wireless Security Cameras Reviewed
- What is an Ip Security Camera
- What Security Camera Records 24/7
Frequently asked questions
Can I mount a camera without drilling?
Yes, if the surface is smooth, clean, and painted, and the camera weighs under the mount’s stated limit. Adhesive pads and clamp mounts both work. Check the mount’s box for its weight limit — most small indoor cameras fit, but heavy outdoor units often don’t.
How long does an adhesive camera mount last?
It depends on heat, humidity, and weight. In a normal room with a light camera, it can hold for a long time, but the only way to know is to check it. In hot or humid rooms, or with heavier cameras, check more often. Replace the pad when the edges start to curl.
Why did my camera mount fall off?
The most common cause is a dirty or greasy surface. Oil from fingers stops adhesive from bonding. Clean with 70% rubbing alcohol, let it dry for 2 minutes, and press a fresh pad for 30 seconds. Cold rooms under 50°F also cause early failure.
Is it safe to mount a camera without drilling?
Yes for light cameras on stable surfaces. Don’t mount above a crib, a bed, or anywhere a falling camera could hit someone. Keep cables out of reach of children and pets. For heavy cameras, use a clamp mount or ask a professional.
What happens if I mount on wallpaper?
Adhesive will likely pull the wallpaper off when you remove it. Use a clamp mount instead, or place a small wooden block behind the mount. If you rent, ask your landlord first — wallpaper damage can cost you part of your deposit.
Does it matter which adhesive I use?
Yes. Command strips and 3M VHB tape are made for this job and state their weight limits on the pack. Cheap no-name pads often fail within days. Match the pad’s rating to your camera’s weight, and choose a pad rated well above it.
How do I remove the mount without damage?
Warm the pad with a hairdryer for 30–60 seconds, then slide dental floss behind it. Pull slowly at a low angle. Sticky residue comes off with rubbing alcohol. Never pry it off cold — that’s what tears paint.
Can I mount a camera on a window?
Yes, with a suction cup mount made for glass. Clean the glass with alcohol first. Suction cups lose grip in heat, so check the seal periodically depending on use, with the owner’s manual as the authority. Suction cups lose grip in heat, so check the seal often and follow the mount’s instructions.
Conclusion
Mounting a camera without drilling works well when you respect two things: the surface and the weight. Clean the spot, wait the full 24 hours, and check the mount every 30 days. If the surface fights you, a clamp mount or a quick call to your landlord beats a fallen camera every time.